🎃 Are you ready to transform your ordinary pumpkins into spooktacular works of art? As Halloween approaches, the age-old tradition of pumpkin carving beckons, but if you’re feeling uninspired or intimidated, you’re not alone. Many of us have stood before a blank orange canvas, carving knife in hand, wondering where to begin.
Fear not! Whether you’re a novice carver or looking to elevate your skills, we’ve got you covered. In this guide, we’ll explore easy pumpkin carving ideas that will make your home the talk of the neighborhood. From essential tools and beginner-friendly designs to creative techniques and themed inspirations, we’ll walk you through everything you need to create impressive jack-o’-lanterns without breaking a sweat. So, grab your pumpkin and let’s dive into the world of effortless, eye-catching pumpkin artistry! 🔪🎨

Essential Tools for Pumpkin Carving
Must-have carving knives
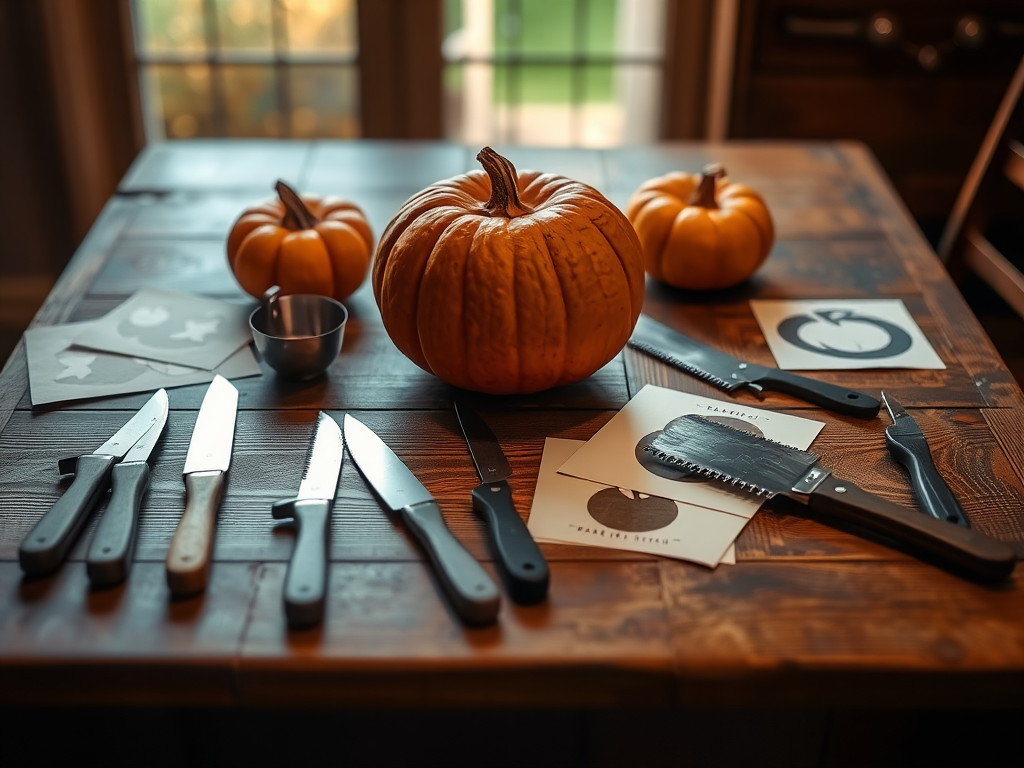
When it comes to bringing your pumpkin designs to life, having the right carving knives is crucial. Opt for a set of serrated-edge knives specifically designed for pumpkin carving. These knives come in various sizes and shapes, allowing you to create both intricate details and broad cuts with ease.
Scooping and cleaning tools
Before you start carving, you’ll need to clean out the pumpkin’s interior. A large metal spoon or ice cream scoop works well for removing seeds and pulp. For a more thorough job, consider using a specialized pumpkin scraper tool that helps thin the pumpkin walls, making carving easier.
Stencils and patterns
Stencils and patterns are excellent resources for achieving professional-looking designs, especially for beginners. You can find a wide variety of free printable stencils online or purchase pumpkin carving pattern books. These guides help you transfer intricate designs onto your pumpkin with precision.
Safety equipment
Don’t overlook safety when carving pumpkins. Wear cut-resistant gloves to protect your hands from accidental slips. Additionally, use a small battery-operated light instead of candles to illuminate your pumpkin, reducing the risk of burns or fires.
Now that you’re equipped with the essential tools for pumpkin carving, let’s explore some beginner-friendly pumpkin designs that you can easily create.

Beginner-Friendly Pumpkin Designs
Now that you have your tools ready, let’s explore some easy pumpkin carving ideas perfect for beginners. These designs will help you create impressive jack-o’-lanterns without advanced skills.
Classic Jack-o’-Lantern Faces
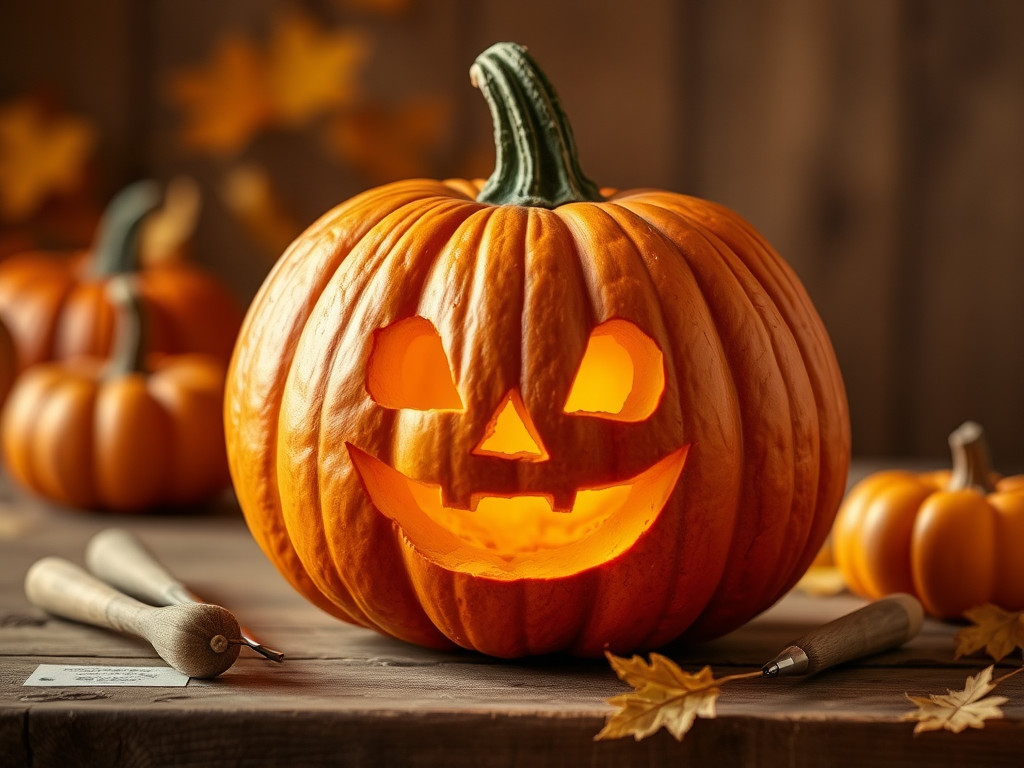
Start with the timeless favorite: a traditional jack-o’-lantern face. Draw simple triangles for eyes and nose, and a toothy grin for the mouth. This classic design is foolproof and always a crowd-pleaser.
Simple Geometric Shapes
For a modern twist, try carving basic geometric shapes like circles, squares, or triangles. Arrange them in patterns for a striking effect. This design is not only easy but also allows for creativity in composition.
Silhouette Carvings
Silhouette designs are perfect for beginners. Choose a simple shape like a cat, witch’s hat, or ghost, and carve around its outline. The contrast between the lit interior and the dark silhouette creates a captivating effect.
Letter and Word Designs
Carve your initials, house number, or a short Halloween message. Stick to block letters for easier carving. This personalized touch adds charm to your porch decor.
Emoji-Inspired Carvings
Bring your pumpkin into the digital age with emoji-inspired designs. Simple emojis like the winking face or heart eyes are easy to replicate and add a playful touch to your Halloween display.
These beginner-friendly designs are sure to make your pumpkin carving experience enjoyable and rewarding. Next, we’ll delve into some creative carving techniques to take your skills to the next level.
Creative Carving Techniques
Etching and shaving
Etching and shaving techniques allow you to create intricate designs without cutting all the way through the pumpkin. Use a linoleum cutter or clay loop tool to scrape away the outer layer of the pumpkin skin, revealing the lighter flesh underneath. This method is perfect for creating subtle gradients and detailed patterns.
Layered carving
Take your pumpkin carving to the next level with layered designs. Start by carving the deepest elements first, then work your way outward, creating depth and dimension. Use different carving tools to achieve varying levels of thickness, resulting in a stunning 3D effect when illuminated.
Negative space designs
Negative space carving involves removing strategic portions of the pumpkin to create an image or pattern using the remaining solid areas. This technique can produce striking silhouettes and optical illusions. Sketch your design first, then carefully carve away the background, leaving the main subject intact.
3D carving effects
For a truly impressive display, experiment with 3D carving effects. Instead of cutting straight through the pumpkin, carve at angles to create raised or sunken features. Use clay sculpting tools to add texture and depth to your design. This technique works well for creating lifelike faces or intricate scenes that seem to pop out of the pumpkin.
Now that you’ve explored these creative carving techniques, let’s move on to some themed pumpkin carving ideas to inspire your next masterpiece.
Themed Pumpkin Carving Ideas
Now that we’ve explored various carving techniques, let’s dive into some exciting themed pumpkin carving ideas that will make your Halloween decorations truly stand out.
A. Movie and TV show characters
Bring your favorite on-screen personalities to life with character-inspired pumpkin carvings. From classic horror icons like Freddy Krueger to beloved animated characters such as SpongeBob SquarePants, the possibilities are endless. Consider using stencils for intricate designs or freehand simpler silhouettes for an impressive effect.
B. Spooky Halloween motifs
Embrace the spirit of Halloween with traditional spooky motifs. Carve eerie faces, haunted houses, witches on broomsticks, or creepy crawlers like spiders and bats. These classic designs never fail to create a spine-chilling atmosphere perfect for trick-or-treaters.
C. Cute animal designs
For a more family-friendly approach, opt for adorable animal carvings. Craft smiling cats, playful dogs, or even woodland creatures like foxes and owls. These charming designs are sure to delight visitors of all ages and add a whimsical touch to your Halloween decor.
D. Seasonal and nature-inspired patterns
Celebrate the beauty of autumn with seasonal and nature-inspired pumpkin carvings. Depict falling leaves, acorns, or intricate leaf patterns. You can also create stunning silhouettes of trees or woodland scenes for a more sophisticated look.
Next, we’ll explore how to preserve your pumpkin masterpiece to ensure it lasts throughout the Halloween season.
Preserving Your Pumpkin Masterpiece
Proper cleaning methods
After creating your pumpkin masterpiece, proper cleaning is crucial for preservation. Start by gently wiping the carved surfaces with a diluted bleach solution to eliminate bacteria. Rinse thoroughly with water and pat dry with a soft cloth.
Natural preservatives
To extend your pumpkin’s life naturally, consider applying a mixture of peppermint oil and water to the carved areas. This not only deters mold growth but also adds a pleasant scent. Alternatively, coat the cut edges with petroleum jelly to lock in moisture.
Display tips for longevity
Place your carved pumpkin in a cool, dry area away from direct sunlight to slow down decay. If possible, refrigerate it overnight or when not on display. For outdoor settings, elevate the pumpkin slightly to allow airflow underneath, reducing moisture buildup.
LED lighting options
Opt for LED lights instead of traditional candles to illuminate your pumpkin. LEDs generate less heat, which helps preserve the pumpkin’s structure. Battery-operated or solar-powered LED options are safe, long-lasting, and come in various colors to enhance your design.
By implementing these preservation techniques, you can enjoy your carved pumpkin creation for an extended period, making the most of your easy pumpkin carving ideas.
Transforming a humble pumpkin into a spooky or whimsical work of art is easier than you might think. With the right tools, simple designs, and creative techniques, anyone can create an eye-catching jack-o’-lantern. Whether you’re a beginner or looking to expand your carving skills, there’s a design that’s perfect for you.
Remember, the key to a successful pumpkin carving experience is to have fun and let your creativity shine. Choose a design that speaks to you, take your time, and don’t be afraid to experiment. With these easy ideas and tips for preserving your creation, your pumpkin masterpiece will be the talk of the neighborhood this Halloween season.
Know more about Pumpkin Carving on WikiHow
Click here for Trump election victory analysis